Saturday, December 29, 2012

BugBot

This project was based off a chapter in Arduino Robotics (click here for Amazon link).  The bugbot sports five touch sensors, two antennae on the front and three bumpers on the back.  All of these sensors are momentary switches which drop low (digital zero) when pressed and remain high (digital one) when unpressed.  I also added a switch which allows the robot to switch between an autonomous mode utilizing the five sensors, and a joystick operated mode which reads data from a Processing sketch and passing this along to the Arduino.  A serial connection using Xbees passes the data from a computer with the joystick attached to the robot itself.


A big focus of this project for me was learning some basic CAD.  I used SolidWorks to create all the relevant parts including the Arduino, two continuous motion servos, a battery box from an old VEX kit, two wheels from the VEX kit, two casters bought from Home Depot, and various hardware (switches and screws).


When all the parts were created separately, I added them to an assembly along with a base I had created.  Then I used Solidworks to help me locate holes on the base so that all the pieces would be in the right places.  I was able to figure out how to export the CAD file for the base as a DXF file (you can download the DXF file for the base here) which could then be easily imported into Corel Draw and sent to our laser cutter.


The base turned out great and all the components were easily assembled onto it.  It was cool for me to be able to see the robot conceptualized first digitally and then realized in the real world.

All the CAD files I used or created can be downloaded by clicking here.


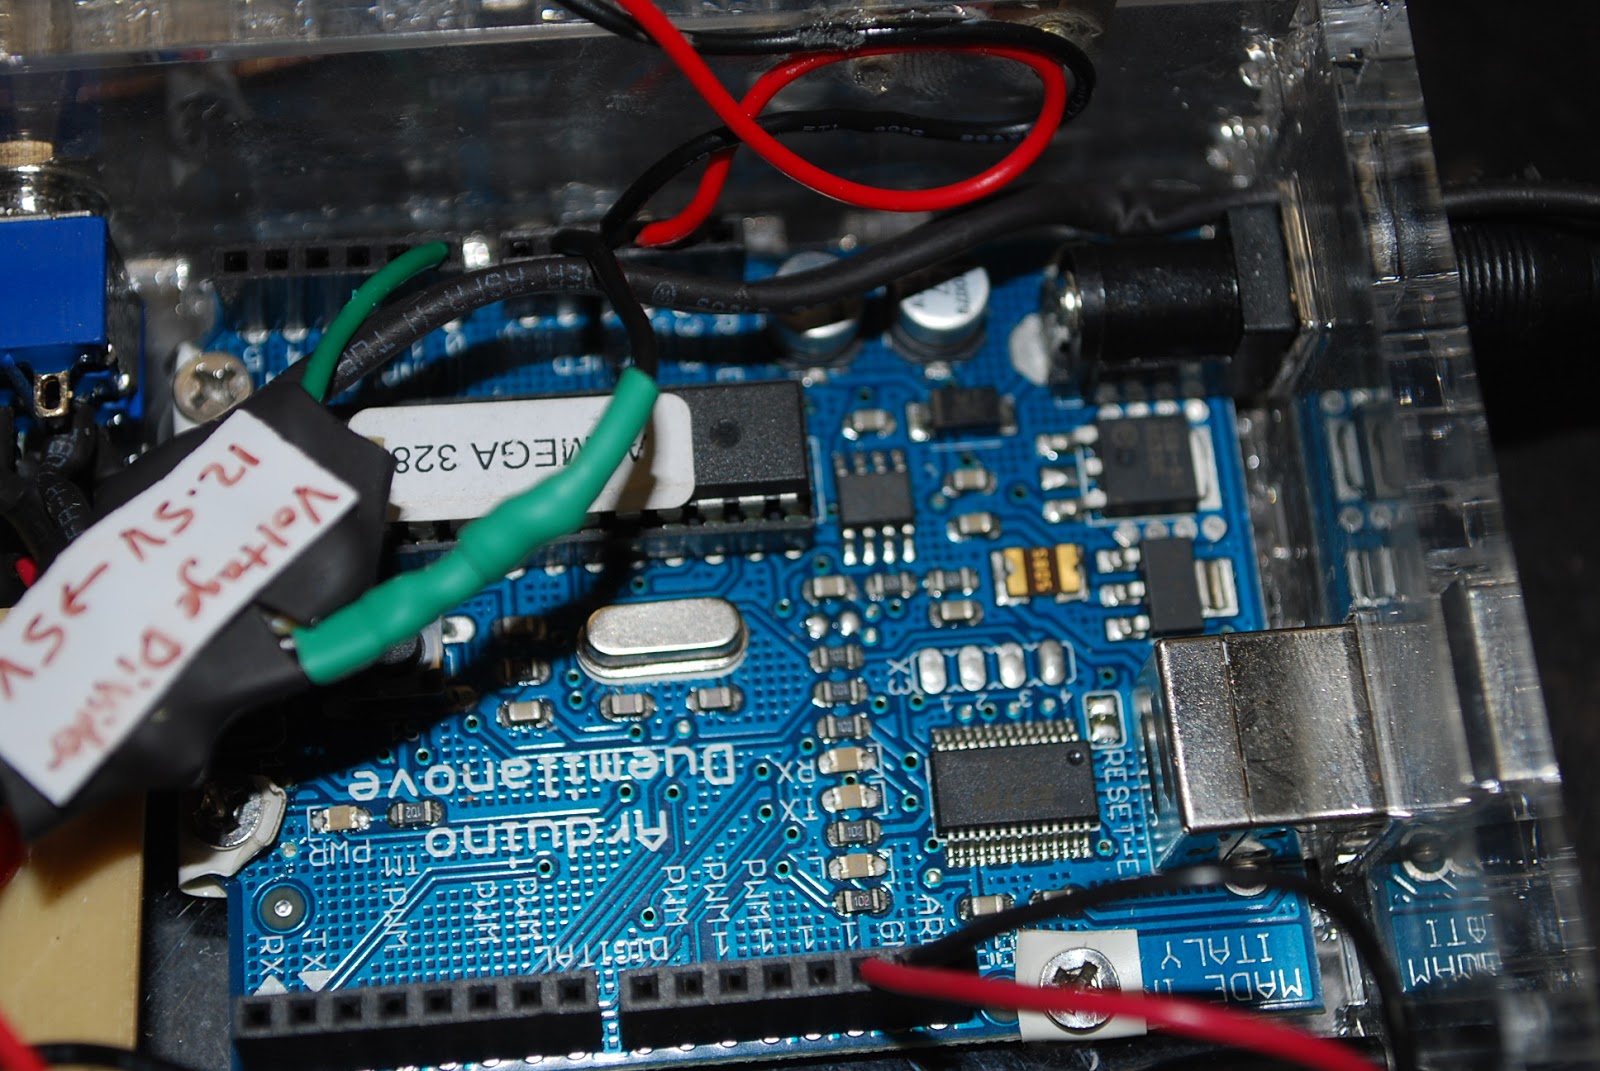
I also used Eagle to layout a simple PCB board for all the electronics.  This board is super clunky because we only had a 0.1" mill bit at the time, and so I was not able to space the lines as close as they would have needed to be in order to mount headers to match the Arduino inputs/outputs.

The electronics schematics for this project are shown below.  The Eagle schematic may be confusing because I used random parts, such as a SPST switch, to represent other parts, such as a servo.  Resistors actually represent the sensors.  The Eagle PCB files can be downloaded by clicking here.


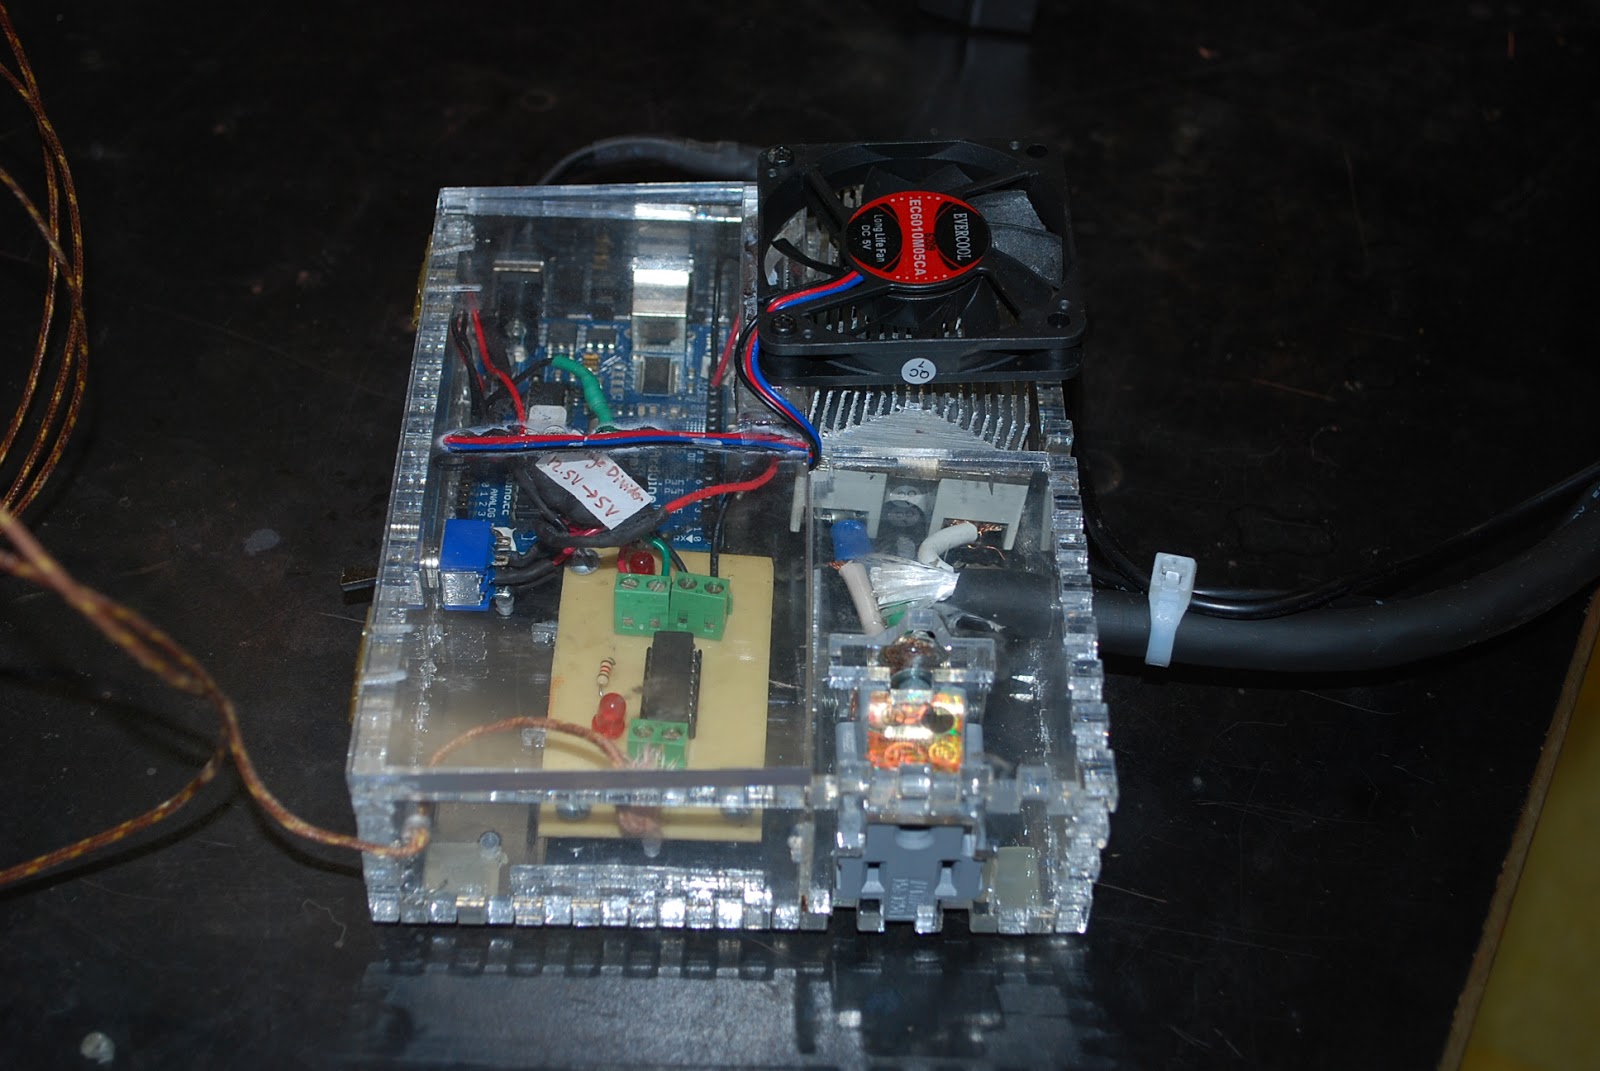
The antennae are just copper wires wrapped around a pen.  One end is shaped into an antennae, and the other end is first soldered to a wire, then epoxied to the base.  The other end of that sensor is a bolt which has a wire soldered to it.  When the antenna is pushed, the copper wire shorts to the bolt.  When the antennae is released, it springs away from the bolt again.


The bumpers on the back are momentary switches from Radio Shack.  I took a lot of care to fashion simple metal brackets in order to securely mount the momentary switches.  Then I made bumpers by shaping aluminum with handtools, making two tabs at each end of the bumper.  The tabs have a through hole for a thin steel rod which also goes through two laser cut pieces affixed to the base and through the top of the momentary switch.  The rod holds the bracket at the perfect distance from the momentary switch so that any contact with the bumper at any point along its length presses the momentary switch.


The continuous rotation servos were epoxied to the bottom of the base in spots that were precisely located by etching done by the laser.  This ensures that the two wheels are directly across from each other and exactly parallel to each other.  The VEX wheels were affixed by drilling holes through the wheels and servo hubs, attaching the servo hubs to the wheels, then attaching the servo hub to the servo with the servo screw.


The code has two parts, only one of which executes at any time depending on the position of a mode switch.  The autonomous code stops when any sensor is tripped, backs up for a short time period, turns for a short time period, then continues forward.  It turns away from the side of the sensor that was tripped.  Once a certain number of trips has happened, it reverses its "front" and begins using the set of sensors that were previously on the back.  In other words, the bugbot switches between using the antennae or the bumpers.  Check out the video to see it in action.

The joystick controlled code reads values passed by an associated Processing sketch.  The Processing sketch connects to the Arduino via Xbees, reads a Logitech Controller, maps the joystick values to servo pulses  (between 1000 and 2000 microseconds), then passes to the Xbees.  The values are passed as strings, then processed by the Arduino to separate the joystick value itself from a header ($R or $L for right or left) and a footer (Z).  Both code files can be downloaded by clicking here.

You can view the Arduino code file by clicking here.
You can view the Processing code file by clicking here.

The video below shows the joystick controlled BugBot in action.

Friday, December 28, 2012

Keyboard Activated Lockbox

The Arduino has great support for input devices, and I stumbled upon the Keypad library recently which triggered the idea of making a lockbox.  There are lots of Arduino based lockboxes out there already, so this one is derivative.  But it was a really nice gift for a couple of my coworkers who are math teachers... the solution to a word problem can be the code to open the lockbox into which students can submit their names or from which students can take a prize.

This is a pretty simple project.  The keypad has four pins for the rows and four pins for the columns.  The keypad I used is from Digikey, part number GH5011.  I used the nice crimping tool and parts from Hansen Hobbies to make a wiring harness to connect the keypad to the Arduino.  I used a standard 5V hobby servo to make a latching mechanism to hold the lockbox lid shut; the servo is driven by a pulse from the Arduino.  I used a separate 4.5V power supply for the servo, and a 9V power supply for the Arduino.  The Arduino can source 5V which could power a servo directly, but the current draw from the servo is probably more than should be sourced by the board.  See this thread for a more thorough description of limitation of the Arduino five volt supply.  An LED shows when the box is locked.

I again made really good usage of our school's laser cutter for this project, designing a custom box which nicely holds all the components together.  There are two DXF files which you can download to make the box out of 1/4" wood (except for the latch, which is made from 1/8" wood and press fit into the top of the box).


The code for this project can be downloaded here.  You can also look at the code by clicking on this link.  The keypad library makes it really easy to add any type of keypad and read a value passed to it.  My code uses an array to store a sequence of buttons that are pressed.  The size of the array is the same as the length of the code, so that the array always has the last "n" values pressed stored, where "n" is the length of the code.  When the special character "#" is pressed, the program compares each value of the array to each character in the code.  If they are all equal, the servo toggles its position, either opening or locking the box.


Thursday, December 27, 2012

Motion Detector Disco Ball


For Xmas this year, I wanted to make something interesting for my niece and nephew.  They are twins, 2 1/2 years old and very much aware of their surroundings.  I watched them interact with a fountain in Bethany Beach that squirted water randomly, and it gave me the idea that a system where they could interact with their surroundings and cause a change might be cool for them, even at their age.  Having just ordered a couple of the Sparkfun PIR sensors, I thought it would be easy and quick to interface this sensor with a relay to turn on/off a 120V supply.  I had done this earlier with the temperature controller, and this time around I focused on a clean, quick box.  I already had a small board with a 120V/5V relay installed, so this project was really just a matter of making an elegant box with places to mount the PIR, an electric socket, an arduino, and my relay board.  The programming also took some work and practice, because the PIR had a tendency to trip itself if a delay wasn't added and a little signal processing done.

The disco ball was ordered from Amazon.  It actually does the job pretty well, but it didn't work when it arrived and I had to open up the bottom to find that one of the wires connected to the power adaptor socket had come lose during transit and needed to be resoldered on.

Click here for the disco ball from Amazon.

I used a simple outlet from Lowes, which conveniently had two 6-32 tapped holes around the socket.  The one I used was also tamper resistant which is good for toddlers.

This is the socket I used.
One final twist to this project was that I wanted the box to  be functional in some way beyond just being a box.  My sister had asked for picture frames on her Xmas list, and I figured it would be very easy to add in space for a 5"x9" print under a pane of acrylic on the top of the box.  I  used SolidWorks to quickly lay out dimensions for a box that would house all the components and have space on top for the picture.

Here's the box, assembled with the components on the inside.  The PIR sensor was mounted on the right hand side using some M2 screws and bolts.  The Arduino is mounted to the base of the box using two M3 screws and nuts.  I cut off the flanges on the outlet, leaving just the 6-32 holes and affixed this on another side of the box.  That same side has an opening for a two-prong power cord.  The hot wire on the powercord  is interrupted by the relay, then runs to the outlet.  The neutral wire runs directly to the outlet.

I was really pleased with the box I made for this project.  It fits all the components elegantly and secures them in place, virtually eliminating any type of mechanical error.  You can download the DXF files below.

CLICK FOR DXF FILE:  Cut these parts from 1/8" wood, 1/4" wood, and thin acrylic.


The finished box has the pane of acrylic on top to house a photo.  The top of the box is easily removed by removing the two screws which go through the side panels into two small pieces of wood attached to the top panel.

The pictures below show the clean installation of the outlet, the Arduino, and the PIR sensor.  For the sake of safety, I coated all the exposed 120V wires with a healthy layer of silicone caulk (non-acid type) to insulate them from the many metal screws exposed on the exterior of the box.


Getting the PIR sensor to do what I wanted took a little bit of work.  I have an ad-hoc solution which is probably not the most elegant, but it works pretty well.  Initially I simply tied the relay directly to the PIR sensor, so when it dropped low (indicating IR motion), the relay turned on.  This led to crazy oscillations of the relay and was pretty useless.  Next I tried using an array to take 20 sequential readings.  Rather than use an average, I just added up all the readings.  If the PIR was really tripped, then most of the readings in a set of 20 would be zero, and so the sum would be close to zero and far from 20.  I played with a threshold value, and ended up comparing the sum of the twenty readings to two.  If the sum was less than two, the relay was tripped, otherwise it was off.  This smoothed out the relay trips, but it still wasn't reliable.

I realized that the behavior I wanted was when the threshold was reached, the relay should just stay on for some period of time, then reset.  So rather than tie the relay directly to the sensor, I have it setup so that the sensor trip resets a timestamp.  If the difference between the timestamp and the current time is less than seven seconds, the relay is on.  After seven seconds, the relay is turned off.  Finally, I had to provide a two second buffer so that the relay change couldn't retrip the PIR (I was finding for whatever reason that every time the relay turned off, the PIR would drop low again turning the relay back on).  So the timestamp cannot be reset until nine seconds after the relay is tripped.

This is the final version of the code.

Here's the motion detector box in action.


And another video to show that it actually detects motion!!!


Finally, here's the schematic showing how everything is attached.  A warning for the PIR sensor wiring... the color coding on the wires from the PIR sensor is not the normal system... make sure to read the Sparkfun page.


Thermocouple Controlled Furnace Temperature Regulator

My first fully fleshed out project began with a materials science class that I teach at Seattle Academy.  Several of the demonstrations that I wanted to run required precise control over time and temperature in the range of 300 - 700oC.  I had access to a pretty good little box furnace, but it had only a dial and an indicator on the front for approximate temperatures between 0 and 1100oC.  This project gave me great insight into the complexities of temperature calibration and thermocouples.

Here is the temperature controller.  The furnace plugs into a socket which is turned on and off by a high current/voltage relay.  The relay is driven by a TTL level signal from an Arduino processor.  The Arduino makes the decision to turn on/off the furnace based on the readings it receives from a thermocouple.  
The thermocouple is enclosed in protective ceramic material and slides into the oven chamber from the top.


The schematic at right shows the connections which are made in the temperature controller box.
A Fotek solid state relay SSR40 - DA (datasheet) allows very high current (up to 40A) which the furnace might draw (I have to admit that I never measured the maximum furnace load!).  The thermocouple is connected to the Arduino through an AD595 chip which outputs 10mV per degree celcius based on a K type thermocouple.  The K thermocouple is usable at temperatures up to 1250oC, which made it ideal for this furnace.  

The AD595 chip could be run directly off the 9V power supply which runs the Arduino, but this would limit the range of temperatures it would return.  According to the data sheet for the chip, a supply voltage of at least +15V will allow the chip to read the full range of temperatures from a K-type thermocouple.   I bought an 18V supply.  In retrospect, a 15V supply would probably have been better because then the Arduino and the AD595 could have been powered by the same supply (the Arduino input should be between 6-16V).
The picture above shows a PCB board setup for  the AD595 chip.  The schematic is shown at right.  These were designed using Eagle software.  The PCB files can be downloaded by clicking here. A power LED gives status, and an error LED goes off if something is wrong with the chip or thermocouple.  The thermocouple leads are connected to pins 1 and 14 (the thermocouple is polarized with yellow = positive and red = negative).  The signal comes from pins 8 and 9.  I used two ground holes allowing me to have a common ground between the Arduino and the AD595 circuits.

 When it first came to testing the temperature controller, I found that it worked fine for low temperature applications, but failed for high temperature application.  The picture at left shows that the controller did a nice job of controlling a hotplate plugged into the controller.  A LabPro with a stainless steel temperature probe was used to monitor the hotplate's actual temperature.  Note the discrepancy between the thermocouple (which think the hotplate is at ~125oC) and the LabPro (which thinks the hotplate is at ~113oC).  The controller clearly kept the hotplate at its setpoint.  But when i tried to run the furnace at a setpoint of 700oC, the furnace quickly ramped up to its maximum temperature and stayed there.

After about a year hiatus from this project, I thought to measure the output from the AD595 chip at various temperatures using a multimeter, and comparing this to the temperature the Arduino was reading.  I quickly realized that the Arduino thought anything above 500oC was 500oC... which explains why any setpoint above 500oC failed.  This makes sense electrically... the output from the AD595 is running into an analog input on the Arduino.  The Arduino is a +5V device, so any voltage above this value will be clipped to 5V.  Any temperature above 500oC will output a voltage above five volts if the AD595 is used.

To fix this problem, I added a simple voltage divider.  The maximum voltage from the AD595 will be 12.5V if the thermocouple measures its maximum temperature of 1250oC (remember the AD595 outputs 10mV per oC).  The voltage divider should scale 12.5V down to 5V so that the Arduino won't clip anymore.  A 40% reduction is required, so I used a voltage divider with 220 Ohm and 330 Ohm resistors, with 60% of the voltage (330/(220+330)) dissipated across the 330Ohm resistor.

The picture at left shows the completed AD595 chip circuit as well as the voltage divider.  The thermocouple is attached a the bottom of the picture.  

Various other pictures of the completed temperature controller are shown below.  I ended up using a fan and remnants of a heat sink from a computer to cool the relay (which otherwise got hot enough to crack the acrylic box).  I mounted the heat sink on the back of the relay using screws and some conductive glue.


The box is fairly ad-hoc and not as smooth as my latest projects.  It is made by laser cutting 1/8" acrylic.  I tried to pay special attention to isolating the 120V AC circuits from hands and low voltage DC circuits.  DXF files which can be used to recreate the box can be downloaded.   


The code for this project is fairly straight forward.  You can download the code in Arduino format, or glance over the code by looking at the word document here

Once the controller seemed to be working pretty well, I went about trying to calibrate it.  First I tried to get a sense of what my thermocouple was reading relative to the built in thermocouple on the furnace, and relative to another K type thermcouple hooked up to a multimeter.  
As you can see, the Arduino thermocouple consistently reads higher than either the multimeter thermocouple or the built in furnace thermocouple.  In fact, the spread in temperatures is quite big... almost a 50oC difference between the Arduino and the built-in thermocouple, and almost a 90oC difference between the Arduino and the multimeter K-type thermocouple.  I really don't know why these differences are so big... I tried to place the tips of all the thermocouples in the same region of the furnace.  At this point I realized that precision temperature control was going to be very difficult to do and would require using pyrometric cones of some type.  The data from the calibration run can be downloaded here.


Finally, I ran two runs with the furnace as a proof of concept to show the at controller would work if I calibrated it extensively.  The first run at left was with a setpoint of 500oC.  The furnace display shows the "actual" temperature to be 450oC.  The excel file for this run can be downloaded.


The final run, shown below, was for a run which would ramp up to 300oC, hold for one hour, ramp up to 500oC, hold for another hour, then ramp up to 700oC, and hold for an hour and a half.  The setpoints used in the code were actually 340, 560, and 760, which, based off the calibration curve above, should correspond to readings from the built-in furnace thermcouple of 300oC, 500oC, and 700oC.  The graph below shows the Arduino readings, and the built-in readings were very close to 500 and 700 (I didn't check the built in thermocouple during the first hour).  The excel file for this run can be downloaded.