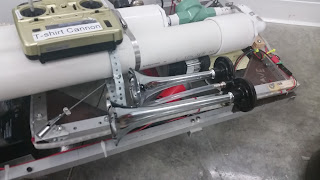
CLICK ON THE PICTURE FOR DOCUMENTATION
Addendum... The T-shirt cannon now has an airhorn!
I figured this would be a good addition both for the impact and also for safety. I purchased a couple kits from Amazon, this one and this one, the first as the original and the second when the plastic horns from the first kit broke. The kits come with three parts... the horns, an electronic compressor, and a relay. I thought the kit was broken because when I wired the compressor to 12V through a momentary switch and pressed the switch, no sound came out. The compressor made a weak noise like it was a small outboard motor, but that was it. The wires also got very hot.
I wired up the product in the manner instructed which uses a relay activated by a momentary switch to drive the compressor. This diagram in Figure 1 shows how this wiring is done (taken from a video on youtube)
 |
| Figure 1 |
 |
| Figure 2 |
Figure 3 shows the actual automotive relay and the pins labelled for reference/troubleshooting.
 |
| Figure 3 |
 |
| Figure 4 |

